Scratches on cars can be annoying. They make your car look old. But don’t worry! You can fix them easily. This guide will help you. Follow these steps to get your car looking new again.
What Causes Scratches?
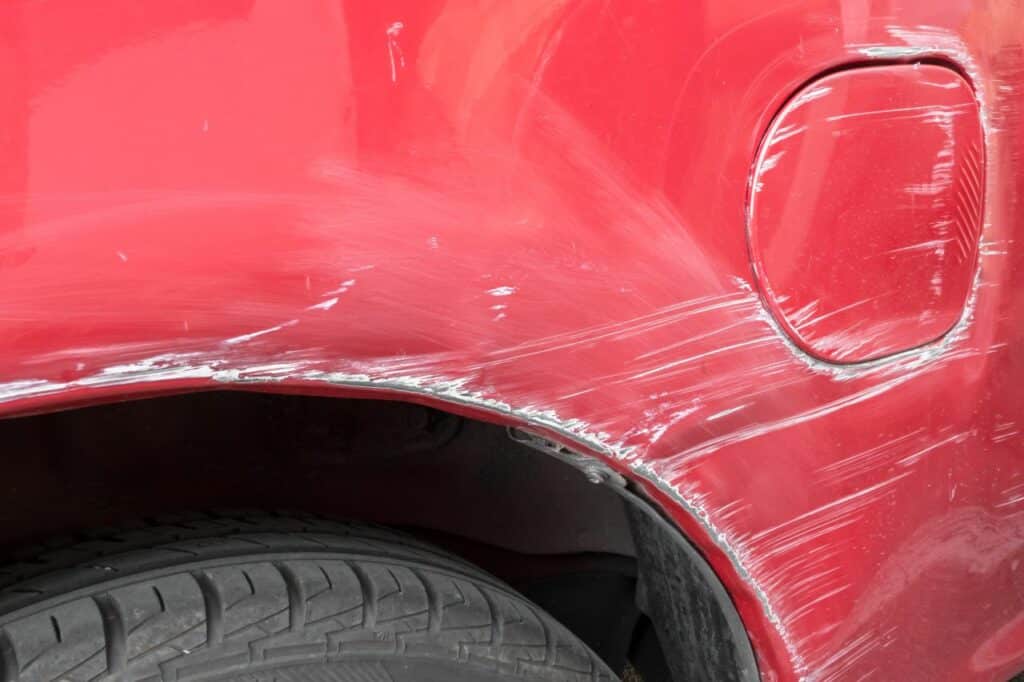
Before we fix scratches, let’s know why they happen. Here are some common causes:
- Branches from trees
- Shopping carts
- Other cars
- Rocks on the road
- Accidental bumps
Understanding these can help you avoid scratches in the future.
Tools You Will Need
To fix scratches, you need some tools. Here is a list:
- Soap and water
- Microfiber cloth
- Scratch remover or polish
- Wax
- Sandpaper (optional)
- Paint (for deep scratches)
Gather these tools before starting your work.
Step-by-Step Guide to Fix Scratches
Now, let’s fix those scratches. Follow these steps carefully.
Step 1: Clean The Area
Start by cleaning the scratched area. Use soap and water. Here is how:
- Mix soap with water in a bucket.
- Wet the microfiber cloth with soapy water.
- Wipe the scratched area gently.
- Rinse with clean water.
- Dry it with a clean cloth.
Cleaning helps you see the scratch better.
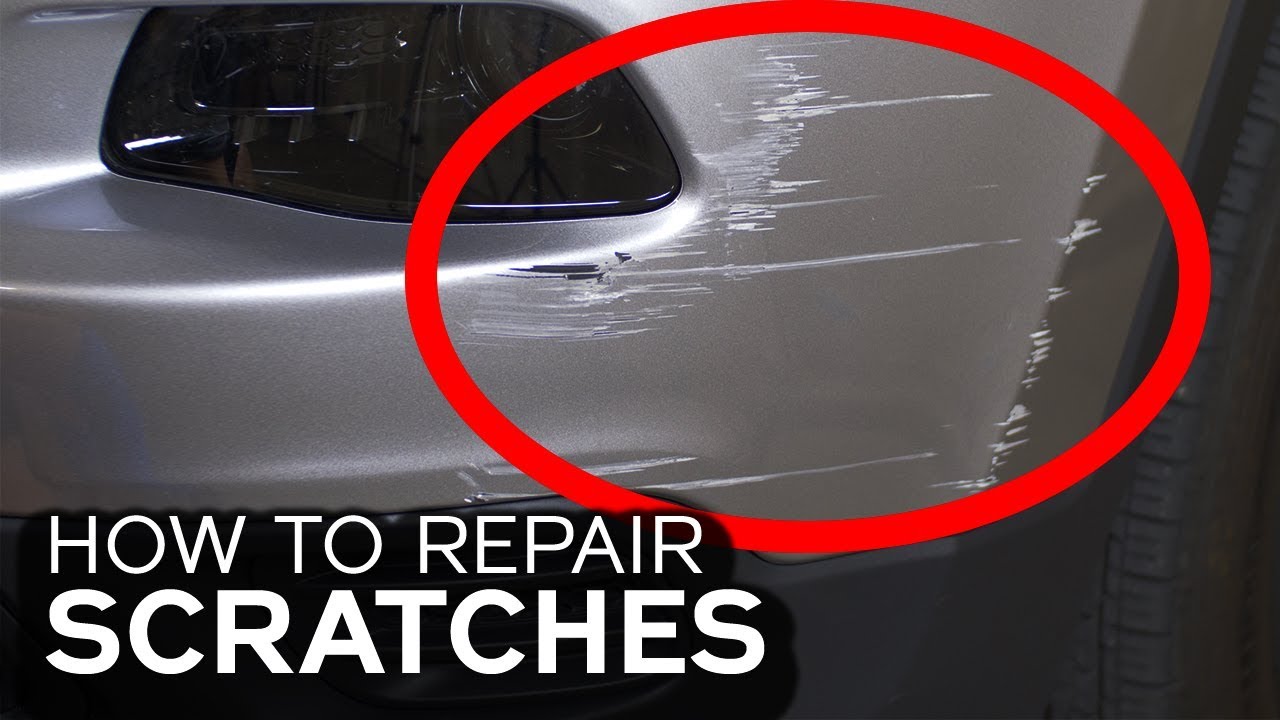
Step 2: Check The Scratch
Look closely at the scratch. Is it light or deep? Light scratches are easier to fix. Deep scratches may need more work. If you can see the metal, it’s deep.
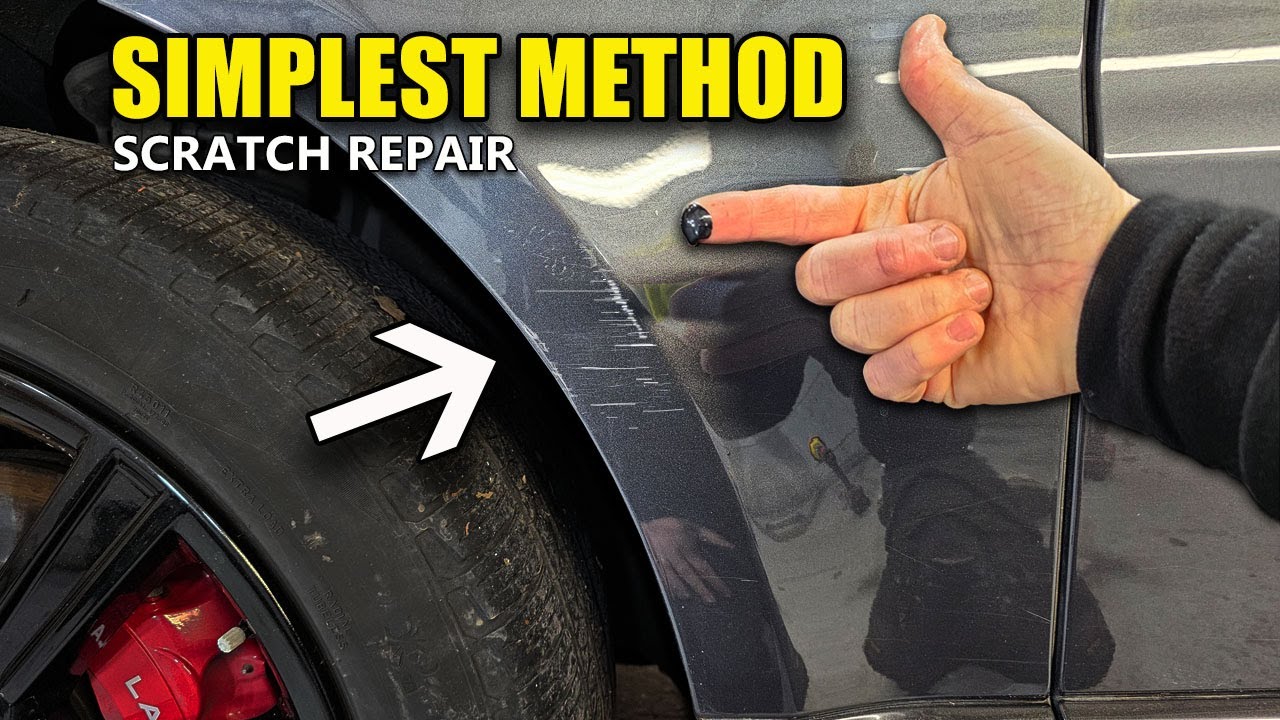
Step 3: Use Scratch Remover
If the scratch is light, use scratch remover. Here’s how:
- Put a small amount on a clean cloth.
- Rub it on the scratch in circular motions.
- Keep rubbing until it looks better.
- Wipe off any extra with a clean cloth.
This can make light scratches disappear.
Step 4: Sanding (for Deep Scratches)
If the scratch is deep, you may need sandpaper. Use fine sandpaper. Here’s how:
- Wet the sandpaper with water.
- Gently sand the scratch. Do not push hard.
- Keep checking the scratch as you sand.
- Stop when it feels smooth.
Be careful not to sand too much. You want to avoid damaging the paint.
Step 5: Apply Touch-up Paint
If sanding does not help, use touch-up paint. You can find it at a store. Follow these steps:
- Shake the touch-up paint well.
- Use a small brush to apply it.
- Fill in the scratch gently.
- Let it dry completely.
This makes the scratch less visible.
Step 6: Wax The Area
After fixing the scratch, wax the area. This helps protect the paint. Here’s how:
- Apply wax to a clean cloth.
- Rub it on the area in circular motions.
- Let it sit for a few minutes.
- Buff it with a dry cloth.
This adds shine and protection.
When to Seek Help
Sometimes, scratches are too deep. If you feel unsure, ask for help. A professional can fix it better. It may cost more, but it ensures great results.
Preventing Future Scratches
After fixing scratches, you want to prevent new ones. Here are some tips:
- Park away from other cars.
- Watch for tree branches.
- Use a car cover if possible.
- Be careful in parking lots.
- Keep your car clean.
These tips can keep your car looking good.
Credit: www.youtube.com
Credit: valleycollision.com
Conclusion
Fixing scratches on your car is easy. With the right tools, you can do it. Follow the steps in this guide. Your car will look great in no time. Remember to take care of your car. This helps prevent scratches in the future.
Always remember, a little care goes a long way.
