Have you ever tried ice cream cake? It is a fun dessert. It combines cake and ice cream. You can make it in many ways. One easy way is to use ice cream sandwiches. This recipe is simple and yummy. Let’s explore how to make this tasty treat.
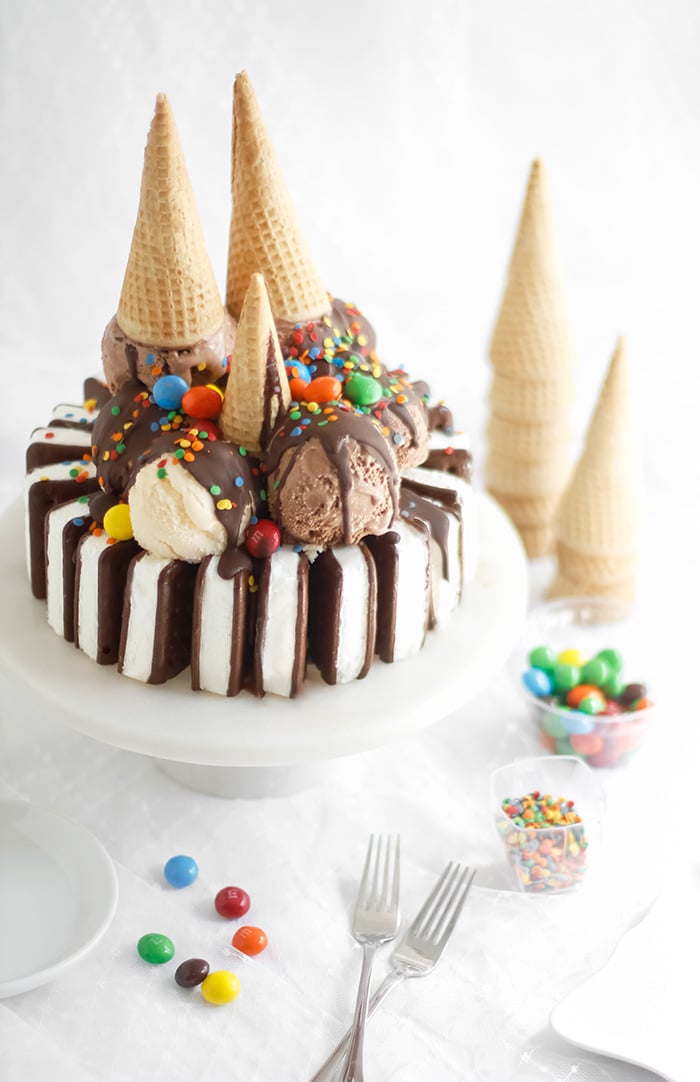
Credit: www.sprinklebakes.com
What You Need
Gather your ingredients. Here is a list of what you need:
- 10 to 12 ice cream sandwiches
- 1 tub of whipped cream (8 oz)
- 1 cup of your favorite toppings (chocolate chips, nuts, or sprinkles)
- 1 jar of chocolate or caramel sauce
- Optional: fruits like strawberries or bananas
Steps to Make the Cake
Making an ice cream cake is easy. Just follow these steps:
Step 1: Prepare Your Work Area
First, clear a space on your kitchen counter. You will need room to work. Lay out all your ingredients. This will help you stay organized.
Step 2: Layer The Ice Cream Sandwiches
Take your ice cream sandwiches out of the box. Place them in a line on a plate. You can stack them in rows. Make sure they fit well. This will be the base of your cake.
Step 3: Add Whipped Cream
Now it is time for the whipped cream. Use a spatula to spread it on top. Cover the sandwiches well. This layer will add creaminess.
Step 4: Add Toppings
Next, sprinkle your favorite toppings. Use chocolate chips, nuts, or sprinkles. You can also add fruits. Strawberries or bananas taste great!
Step 5: Drizzle Sauce
Drizzle chocolate or caramel sauce on top. Use as much as you like. This will make the cake sweet and tasty.
Step 6: Repeat Layers
If you have more ice cream sandwiches, repeat the layers. Add another layer of sandwiches. Then, add whipped cream and toppings again. This makes the cake taller and more fun.
Step 7: Freeze The Cake
Cover the cake with plastic wrap. Place it in the freezer. Let it freeze for at least 4 hours. This will help it hold together.
Serving Your Ice Cream Cake
After freezing, it is time to serve. Take the cake out of the freezer. Let it sit for about 5 minutes. This will make it easier to cut.
Use a sharp knife to slice the cake. You can serve it on a plate. Add more toppings if you want. Enjoy your delicious creation!
Fun Variations
You can change your ice cream cake in many ways. Here are some ideas:
Different Ice Cream Flavors
Try different ice cream flavors. Chocolate, vanilla, or mint are great options. Mix and match flavors for fun tastes.
Use Different Toppings
Change your toppings. Use crushed cookies or candies. You can also try different fruits. Fresh berries add a nice touch.
Add A Crunch Layer
Add a crunchy layer. Use crushed graham crackers or nuts. Place this layer between the ice cream sandwiches. It adds texture.
Decorate For Special Occasions
If you have a party, decorate the cake. Use whipped cream to create fun shapes. Add candles for birthdays. Everyone will love it!
Why Ice Cream Sandwich Cake is Great
This cake is great for many reasons:
Easy To Make
It is easy to make. You do not need to bake. Just layer and freeze.
Fun For Everyone
Kids and adults love it. Everyone enjoys ice cream. It is a hit at parties.
Customizable
You can customize it. Use your favorite flavors and toppings. Each cake can be different.
Quick To Prepare
This cake is quick to prepare. You can make it in under 30 minutes. Then, just wait for it to freeze.
Tips for Making the Best Cake
Here are some tips to make your cake even better:
Choose Quality Ingredients
Use good quality ice cream sandwiches. This makes a big difference. Choose fresh toppings for better taste.
Let It Freeze Long Enough
Make sure to freeze the cake long enough. This helps it stay together when you cut it.
Experiment With Flavors
Don’t be afraid to try new flavors. Mix different ice creams and toppings. You might discover a new favorite!
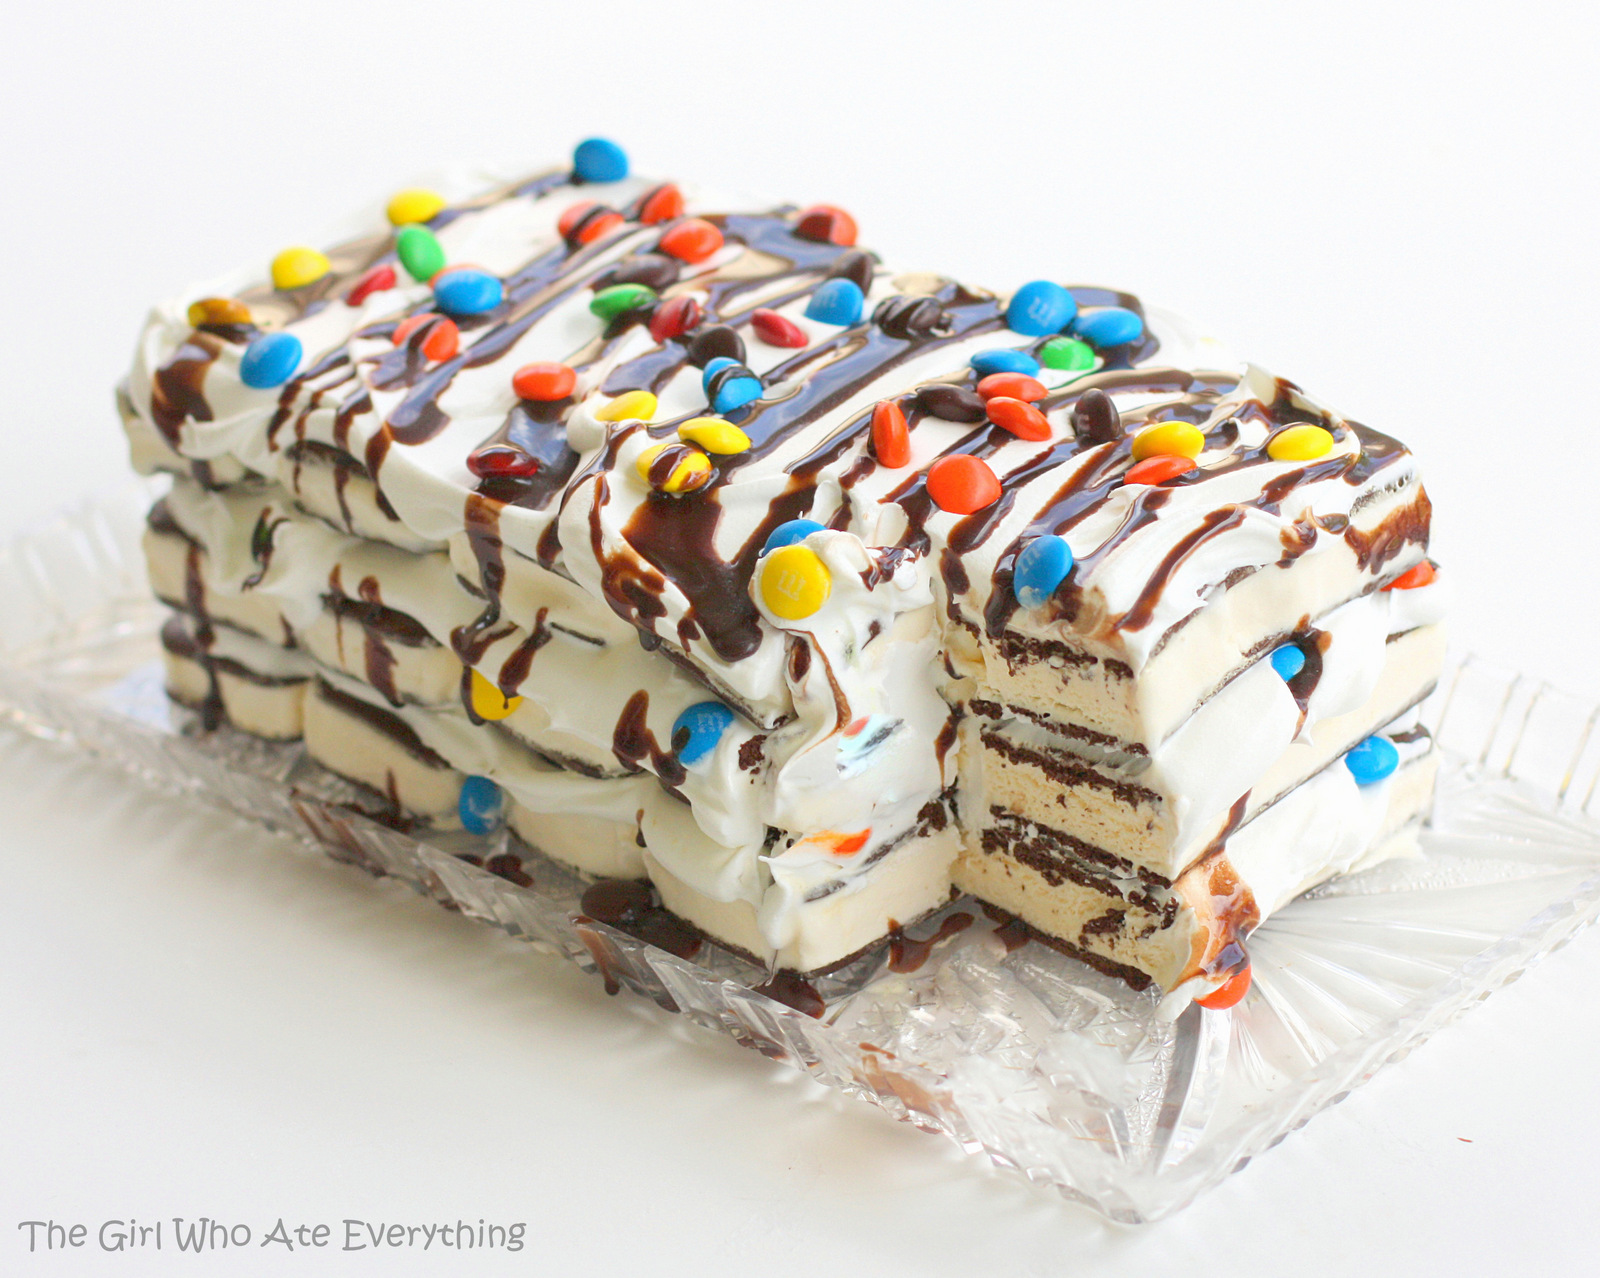
Credit: www.the-girl-who-ate-everything.com
Conclusion
Ice cream cake from ice cream sandwiches is a fun dessert. It is easy to make and tastes great. You can customize it in many ways.
Next time you want a sweet treat, try this recipe. Gather your friends and family. Enjoy making and eating your delicious cake!
Remember, the best part is sharing. Make it together and enjoy the smiles. Happy baking!
